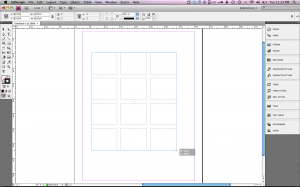
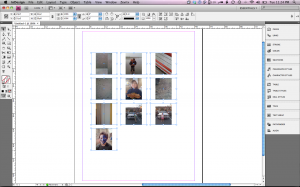
InDesign CS4 had added a number of new features that I’ve grown accustomed to using each and every day. One of those features is the Thumbnail Place feature. The ability select multiple graphics after choosing File > Place is a great new feature in and of itself, however often I find that all I want to do is see all of the images in InDesign so I can analyze them or begin placing them and sizing them in my document. Let’s take a look at how the Thumbnail Place works in InDesign CS4.
- Choose File > Place and select several images in the place dialog, then click the open button. The place gun appears with the number of selected photos in parentheses.
- Hold down Shift + Command (Mac) or Shift + Control (Windows) to get the Grid Place icon and click and drag with your mouse to draw a grid using your placed images. Don’t let go of that mouse yet!
- As your dragging with your mouse, you can release the modifier keys but continue to drag to establish the size of the images in the grid. While dragging, press the right or left arrow keys on your keyboard to add or remove columns from the grid or press the up and down arrow keys to add or remove rows from the grid.
- Once you’re satisfied with the number of thumbnails, release the mouse button and voila! Instant thumbnail placement.
Once you know this trick, you’ll be surprised at how often you’ll use it and wonder how you lived without it.

